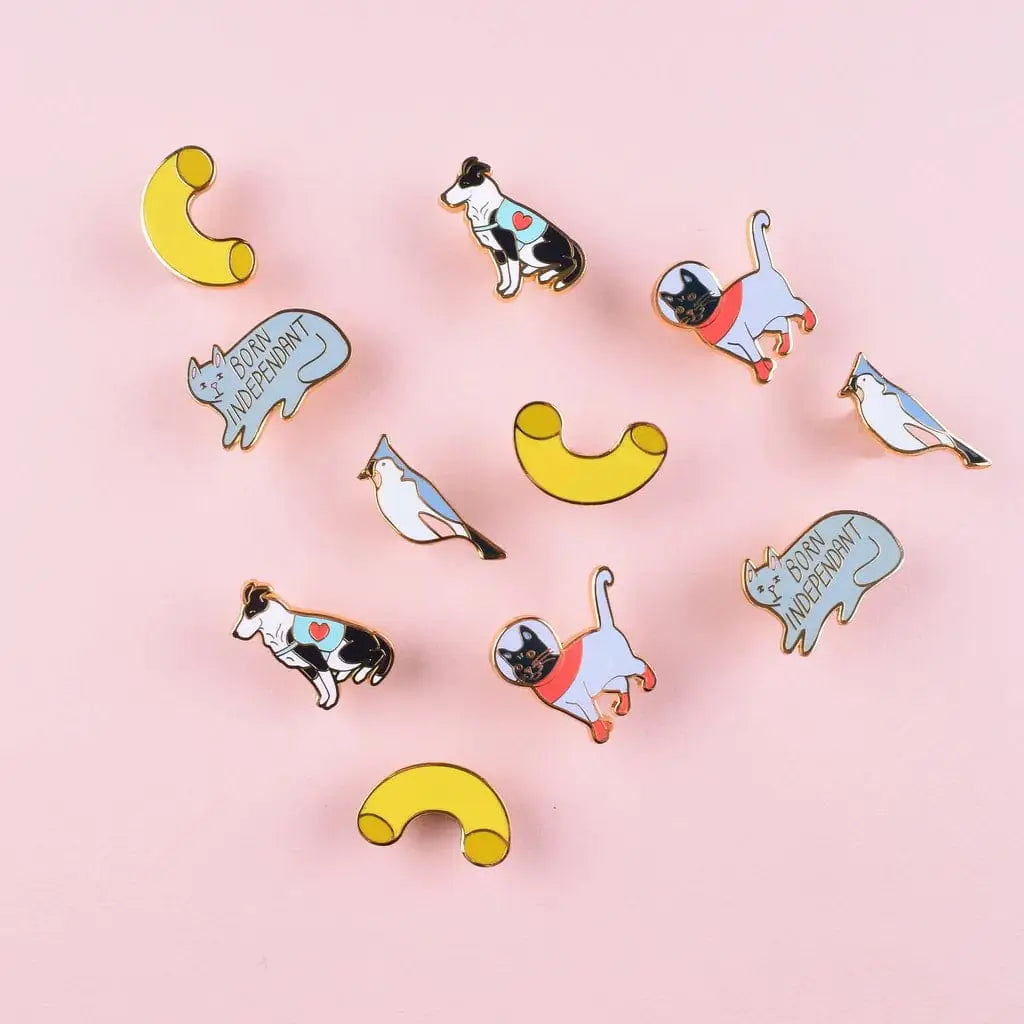

Enamel pins are a fun and a collectible way to show a style, wear an idea, or vehicle a message directly to the world, right? We just wanted to have fun at the beginning, but then it went out of control, haha 😆 People love them as much as we love designing them.
But have you ever wondered how they are made? From day one, we wanted to have them in our collection, so we went on hunting partners to help us make them. The disillusion was enormous when we discovered that it wasn't possible to make them in Canada anymore, without paying less than $50 each. Impossible to stop there, we decided to move to another supplier, Robert, who still has the needed equipment and savoir-faire but is based in China. We spent a lot of time screening their background, just to be sure everything was alright (and hopefully, it was ☺️).
As the process is fascinating, we were thinking that it would be interesting for you to see how it works from the inside. Without further chit-chat, here is, step by step, how to make enamel pins.
1. Designing the object itself
Have you always wanted to make custom enamel pins? Well, firstly, a couple of initial decisions have to be taken before even thinking about the artwork itself: You have to choose the size, plating, qty, finishing, etc. All of these may discourage you at first, but when you know exactly what you want, it's getting easier with time.
How much does it cost to make enamel pins, then? Well, it depends on all the elements above. Also, the complexity of the design, which is subjective I admit, has an influence on the price of the mould. With experience again, you manage to figure out which design will cost what. In the end, it may cost you between $5 and $15 per unit, plus the price of the mould (from $150 to $500 +), plus packaging, plus shipping, customs, etc.
Once the price is approved, it's time to move to the fun part: The design! Usually, the manufacturer will ask you about the design before making an estimate.
2. How to design enamel pins?
You have to provide vectorized images preferably, but if you can't or don't know how to do it, they can do it for you in some cases, but it will cost you a little. Once provided, they'll send you an artwork proof before moving to production.
An artwork proof/mockup is a document that outlines all of the details of the design, including the process (hard enamel or soft enamel), plating requirements, Pantone solid colour numbers, printed content, back logo, back posts location, whether epoxy or laser printing is needed, glow in the dark features, etc. This way, you can see how the finished product will look and make sure that everything is correct before approving the artwork and beginning production. Here is an example below.

3. Mould making
The document containing the artwork is sent to a mould engraving machine to prepare the moulds. There are two types of moulds - one made of iron, primarily used to punch iron-based material pins, coins and medals, etc., and the other made of zinc alloy, which is used to make zinc alloy pins. The choice of material is mainly based on the product's shape and complexity. Here, we'll show what we do: The production of zinc alloy pins.
On the mould engraving machine, which is a CNC, the front mould, which displays the front side of the pins, is cut out by program-controlled cutting knives. If the pins have a back logo, then the back mould is also engraved. The finished moulds look like below.

4. Blank pins production
When a pin's design is irregular in shape, it is more suitable to use a zinc alloy material to make it. When designing, this is important to know because it is not the same price! For zinc alloy material pins, the process of achieving the pin's shape is done by using a zinc alloy die-casting machine.
The front mould is placed on one side of the machine, with the back mould on the other side. When the high-temperature liquid-like zinc alloy is injected into the space between the front and back moulds under high pressure, the pin's shape is formed.
As the pins cool down, the blank pins are separated and collected individually. Now, new lapel pins are born 👶🏽
The pins are then cleaned of any debris and burrs before moving on to the next step.
5. Fix the needles
The next step is to fix the spur needles or posts. On this machine, the spur needles are fixed on the back of the pins. After this step, the pin looks like this.

Depending on the type of pin, the next steps are different from there.
If it's for hard enamel pins, we go to colourizing, plating and printing. If it's soft enamel pins, it's plating, colourizing and printing.
6. Colouring
Crazy to know, but for small quantities, pins are colourized by hand, one colour at a time to avoid colour mixes, thanks to syringes. Once coloured, they go into an oven for a couple of hours, then cool down and go for the second colour, etc. 😅
For large quantities, some auto colourizing machines exist! They look like this:

7. Polishing
Once colourized and dried, the pins are sent for initial cleaning, then polished to make them shine. Again, if you don't want to, just ask them not to do it.
8. Plating
Regarding the design you want, some pins may require plating. Ours are not for instance, but in this example, they are. They are dipped into pools filled with liquid nickel, then thanks to electrolysis, the nickel is sticks to the surface of the metal.

9. Screen printing
A feature you can add also is screen-printing. Once again, it's one colour at a time.
I hope you liked this walkthrough and maybe inspired you to move forward with bringing to life your ideas or current designs!
Let me know if you want to know more about production processes, I love sharing about them, and I'll be happy to show you. Take care guys!